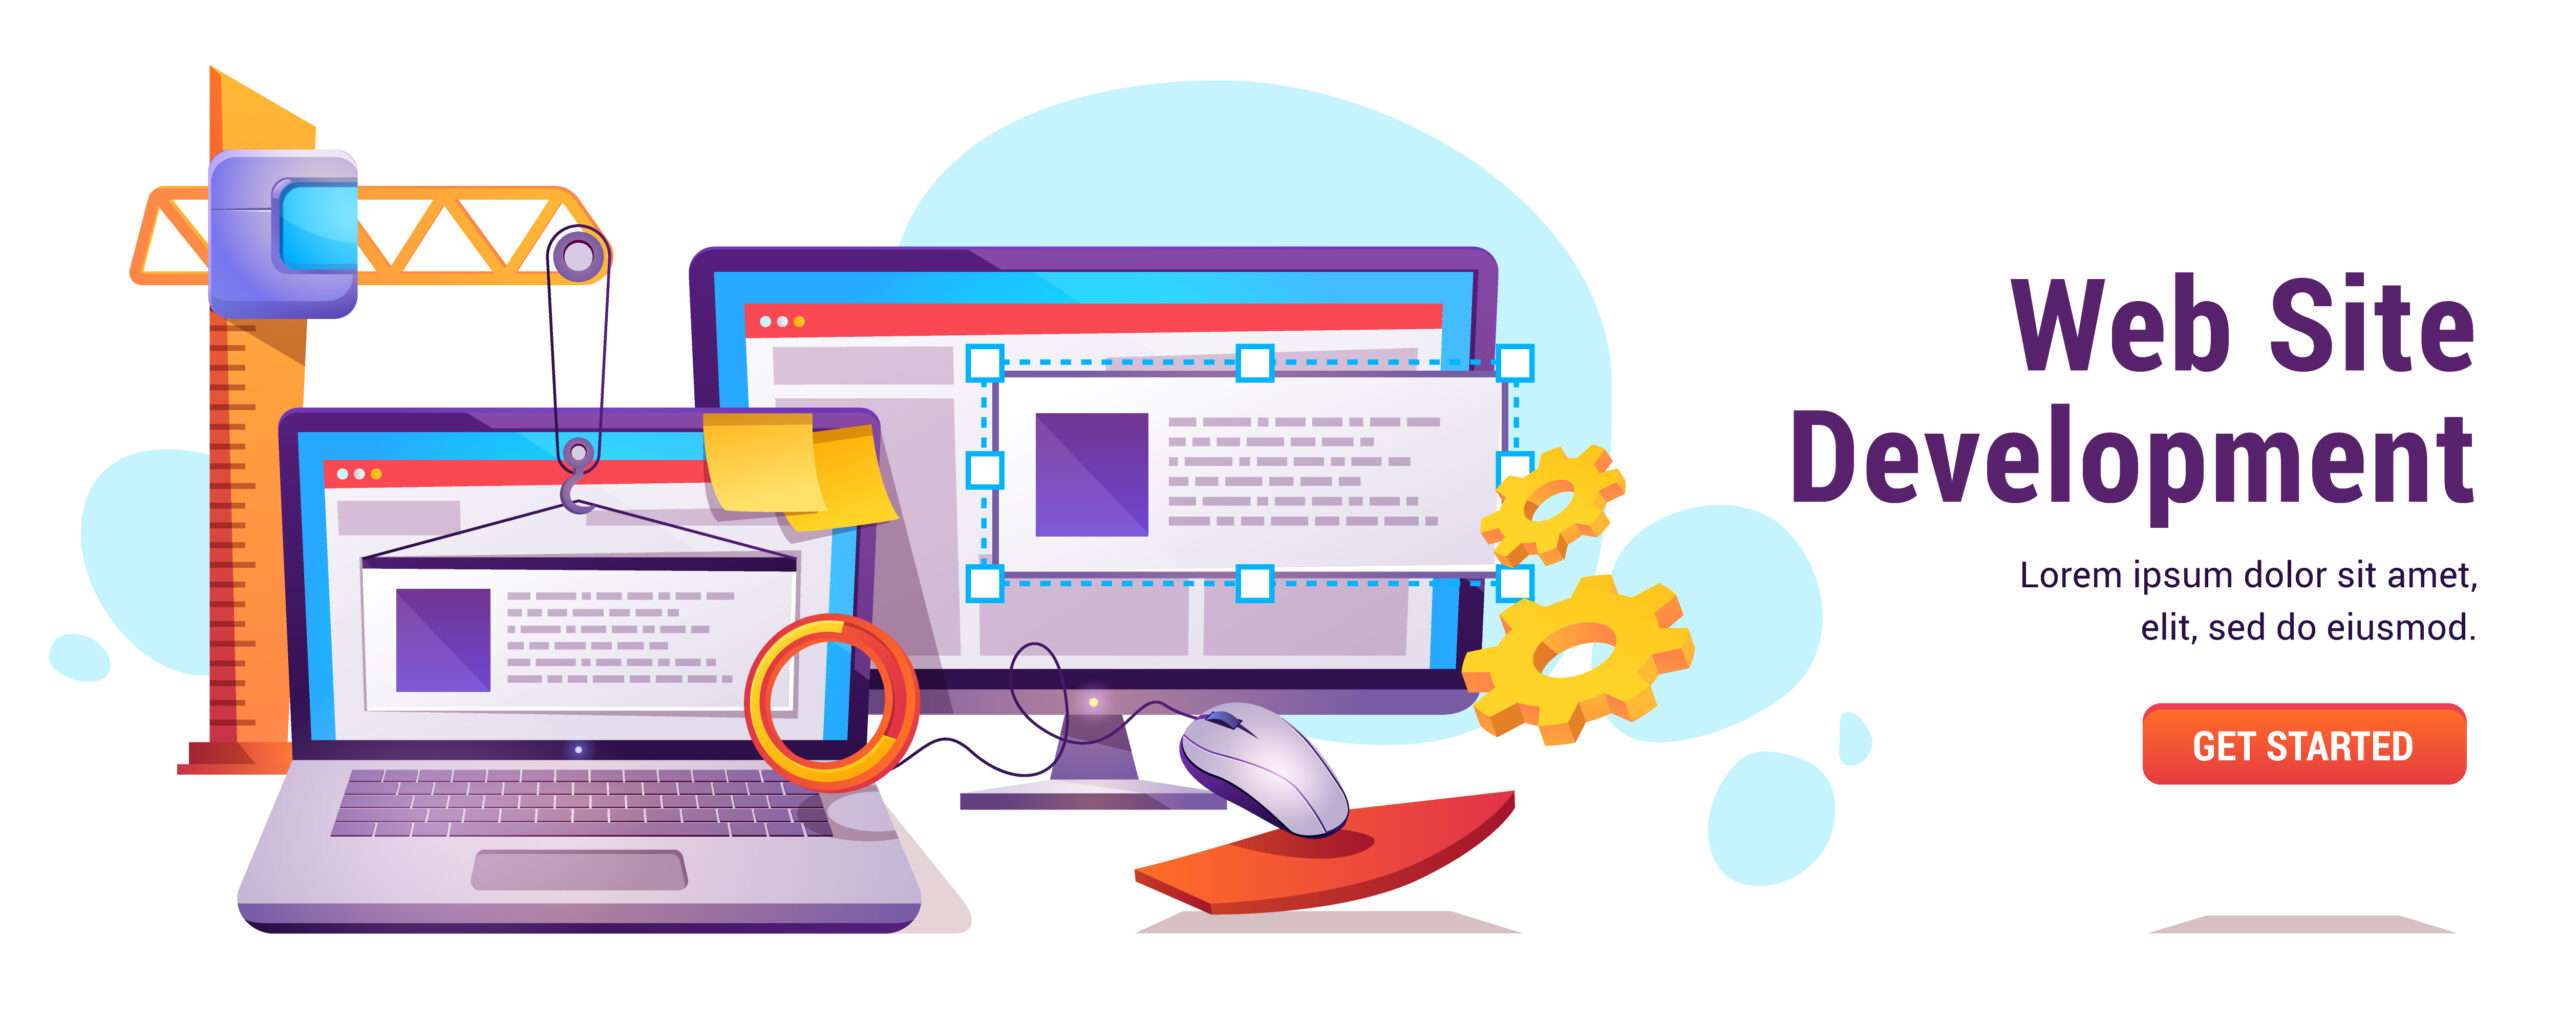
Introduction
HTML (HyperText Markup Language) and CSS (Cascading Style Sheets) are the fundamental building blocks of web development. HTML is used to structure the content on the web, defining elements such as headings, paragraphs, links, and images. It acts as the skeleton of a web page, providing the basic layout and content.

Together, HTML and CSS allow beginners to create and design simple yet functional web pages, laying the foundation for more advanced web development skills.
html and css projects
Learning HTML and CSS is not just about mastering code; it’s about creating meaningful projects that solve real-world problems or bring joy to others. Here are a few beginner-friendly HTML and CSS projects that focus on human needs and experiences:
Personal Portfolio Website
Objective: Create a personal portfolio to showcase your skills, projects, and resume.
Human Impact: This project helps you present yourself professionally online, making it easier for potential employers or clients to learn about you.
Recipe Website
Objective: Build a simple website to share your favorite recipes, complete with images, ingredients, and step-by-step instructions.
Human Impact: Food connects people. This project allows you to share your love of cooking with friends, family, or the public.
Blog Layout
Objective: Design a basic blog layout with a homepage, blog post pages, and an about page.
Human Impact: Blogging is a way to express thoughts, ideas, and creativity. This project enables you to create a platform for sharing stories or insights.
Event Invitation Page
Objective: Create a stylish webpage to invite people to an event, such as a birthday party or a wedding.
Human Impact: Digital invitations are a modern way to bring people together, making it easier to manage RSVPs and share event details.
Non-Profit Organization Website
Objective: Design a simple website for a local non-profit, including a homepage, mission statement, and contact page.
Human Impact: Supporting non-profits with a professional online presence can help them reach more people and increase their impact.
Photo Gallery
Objective: Create a responsive photo gallery to display images, with features like hover effects and lightbox viewing.
Human Impact: This project allows you to showcase memories, art, or any visual content, helping to preserve and share human experiences.
Responsive Landing Page
Objective: Build a modern landing page with a clear call to action, optimized for both desktop and mobile devices.
Human Impact: A well-designed landing page can effectively communicate a message or offer, making it easier for people to access products, services, or information.
Interactive Quiz
Objective: Develop a simple quiz using HTML, CSS, and basic JavaScript for interactive elements.
Human Impact: Quizzes can be educational or entertaining, providing a fun way for people to test their knowledge or learn new things.
Each of these projects not only enhances your technical skills but also serves a practical purpose, making the web a more useful and enjoyable place for others.
Difference between html and css
HTML and CSS are like the dynamic duo of web development, each playing a unique and essential role in creating a website. Here’s how they differ from a human-centered perspective:
HTML: The Structure
Think of HTML (HyperText Markup Language) as the bones of a website. Just as our skeleton gives structure to our body, HTML provides the structure to a web page. It defines the layout and organization of content, such as headings, paragraphs, images, links, and lists. Without HTML, there would be no web pages—just a blank screen.
For example, when you visit a website, everything you see—the text, images, and links—are all placed on the page using HTML. It tells the browser what to display and in what order.
CSS: The Style
CSS (Cascading Style Sheets) is like the clothing, makeup, or interior design of a website. While HTML gives the page its structure, CSS is what makes it look good. It controls the visual aspects like colors, fonts, spacing, and layout. CSS adds the personality and aesthetic appeal to the otherwise plain structure that HTML provides.
Imagine you have a house (HTML) with walls, rooms, and windows. CSS is the paint, furniture, and decorations that make the house feel like a home. It’s what makes a website attractive and enjoyable to use.
In Simple Terms:
HTML is like writing a document: you decide what goes where—headings, paragraphs, lists—but everything is plain and unstyled.
CSS is like formatting that document: you decide what color the text should be, how large the headings should appear, and how everything should be spaced out.
Together, HTML and CSS work hand-in-hand to create web pages that are both functional (thanks to HTML) and beautiful (thanks to CSS). Just as in life, where structure and style are both important, HTML and CSS are essential partners in web development.
How to convert figma design to html and css free
Converting a Figma design into a functional website involves translating visual elements into code. Here’s a step-by-step guide to help you do it effectively without needing expensive tools:
Understand the Design
Human Approach: Start by carefully reviewing the Figma design. Understand the layout, colors, fonts, and spacing. Note down the key sections like headers, footers, navigation bars, and content areas.
Why It Matters: Having a clear understanding ensures you don’t miss any details and that the final website closely matches the design.
Set Up Your Workspace
Human Approach: Create a project folder on your computer. Inside this folder, set up two files: index.html for your HTML and style.css for your CSS. This is where you’ll build the structure and style of your site.
Why It Matters: Keeping everything organized makes the process smoother and helps you avoid confusion later on.
Export Assets from Figma
Human Approach: In Figma, select the images, icons, or other visual assets you need and export them as .png or .svg files. These will be used in your HTML code.
Why It Matters: Exporting the right assets ensures your website looks like the design. SVGs are preferred for icons because they scale without losing quality.
Write the HTML Structure
Human Approach: Start by creating the basic structure of your webpage in index.html. Use semantic HTML tags (, , , , etc.) to match the layout of your Figma design.
Why It Matters: Semantic HTML improves accessibility and SEO, making your website more user-friendly and easier to find.
Apply CSS Styles
Human Approach: Open style.css and start styling your HTML elements to match the Figma design. Use CSS properties for layout (display, flexbox, or grid), typography (font-family, font-size), colors, and spacing.
Why It Matters: CSS brings your design to life, ensuring that the website is visually appealing and consistent with the Figma prototype.
Use Free Tools to Speed Up the Process
Human Approach: Utilize free tools and resources like:
Google Fonts for typography, matching the fonts used in Figma.
CSS Grid Generator or Flexbox Froggy to create complex layouts easily.
Browser Developer Tools to inspect and tweak your CSS in real-time.
Why It Matters: These tools simplify complex tasks, saving you time and helping you achieve pixel-perfect designs.
Test and Refine
Human Approach: Open your HTML file in different browsers (Chrome, Firefox, Safari) to ensure everything looks correct. Make adjustments to your CSS as needed for cross-browser compatibility.
Why It Matters: Ensuring your site looks good on all browsers provides a better experience for all users.
Make It Responsive
Human Approach: Use media queries in your CSS to adjust the layout for different screen sizes (e.g., mobile, tablet, desktop).
Why It Matters: A responsive design ensures that your website is accessible and functional on all devices, enhancing user satisfaction.
Add Interactivity (Optional)
Human Approach: If your Figma design includes interactive elements (like buttons or modals), you can use basic JavaScript to add these features.
Why It Matters: Interactivity improves user engagement and can make your website more dynamic and enjoyable to use.
Review and Launch
Human Approach: Once you’re satisfied with the conversion, review the final product to ensure everything matches the original Figma design. Share your work with others to get feedback before launching.
Why It Matters: A final review helps catch any issues you might have missed and ensures the best possible user experience.
Conclusion
Converting a Figma design to HTML and CSS doesn’t have to be overwhelming. By breaking it down into manageable steps and using free tools, you can create a website that faithfully represents your design. This process not only builds your technical skills but also hones your attention to detail, making you a more effective and empathetic web developer.
Portfolio using html and css
Building a personal portfolio is a great way to showcase your skills, projects, and experience to potential employers or clients. Here’s a step-by-step guide to creating a simple yet effective portfolio using only HTML and CSS, focusing on user experience and self-expression.
Plan Your Portfolio Content
Human Approach: Begin by deciding what content you want to include. Common sections for a portfolio might be:
Introduction/About Me: A brief overview of who you are.
Skills: A list of your key skills or areas of expertise.
Projects: Showcase your best work with descriptions and images.
Contact Information: How people can get in touch with you.
Why It Matters: Knowing what content to include helps you create a portfolio that is not only informative but also reflective of your personality and professional strengths.
Set Up the HTML Structure
Human Approach: Open your text editor and create an index.html file. Start by setting up the basic structure of your page:
<!DOCTYPE html>
<html lang="en">
<head>
<meta charset="UTF-8">
<meta name="viewport" content="width=device-width, initial-scale=1.0">
<title>Your Name - Portfolio</title>
<link rel="stylesheet" href="style.css">
</head>
<body>
<header>
<h1>Your Name</h1>
<nav>
<ul>
<li><a href="#about">About</a></li>
<li><a href="#skills">Skills</a></li>
<li><a href="#projects">Projects</a></li>
<li><a href="#contact">Contact</a></li>
</ul>
</nav>
</header>
<section id="about">
<h2>About Me</h2>
<p>Write a brief introduction about yourself here.</p>
</section>
<section id="skills">
<h2>Skills</h2>
<ul>
<li>HTML & CSS</li>
<li>JavaScript</li>
<li>Web Design</li>
<!-- Add more skills as needed -->
</ul>
</section>
<section id="projects">
<h2>Projects</h2>
<!-- Add project details here -->
</section>
<section id="contact">
<h2>Contact</h2>
<p>Email: <a href="mailto:your.email@example.com">your.email@example.com</a></p>
</section>
<footer>
<p>© 2024 Your Name</p>
</footer>
</body>
</html>Why It Matters: This structure is simple but effective. It provides clear navigation and organizes your content in a way that’s easy for visitors to follow.
Style with CSS
Human Approach: Now, create a style.css file to style your portfolio. Focus on making it visually appealing while reflecting your personality. Here’s a basic example:
body {
    font-family: Arial, sans-serif;
    color: #333;
    margin: 0;
    padding: 0;
    line-height: 1.6;
}

header {
    background-color: #007acc;
    color: white;
    padding: 20px;
    text-align: center;
}

nav ul {
    list-style-type: none;
    padding: 0;
}

nav ul li {
    display: inline;
    margin-right: 20px;
}

nav ul li a {
    color: white;
    text-decoration: none;
}

section {
    padding: 20px;
}

h2 {
    color: #007acc;
}

footer {
    background-color: #f4f4f4;
    text-align: center;
    padding: 10px;
    position: fixed;
    bottom: 0;
    width: 100%;
}
Why It Matters: This CSS gives your portfolio a clean and professional look. Feel free to adjust colors, fonts, and spacing to better represent your style.
Showcase Your Projects
Human Approach: In the “Projects” section, include images and descriptions of your best work. For example:
<section id="projects">
    <h2>Projects</h2>
    <div class="project">
        <h3>Project Name</h3>
        <img src="project-image.jpg" alt="Project screenshot">
        <p>Description of what the project is, what you did, and the technologies you used.</p>
    </div>
    <!-- Add more projects as needed -->
</section>
Why It Matters: Clearly presenting your projects with descriptions helps potential employers or clients understand your capabilities and see your work in context.
Make It Responsive
Human Approach: Use media queries in your CSS to ensure your portfolio looks good on all devices (desktop, tablet, mobile).
@media (max-width: 600px) {
    nav ul {
        text-align: center;
    }

    nav ul li {
        display: block;
        margin: 10px 0;
    }

    footer {
        position: relative;
    }
}
Why It Matters: A responsive design ensures that your portfolio is accessible and functional on any device, enhancing the user experience.
Test and Review
Human Approach: Once your portfolio is built, open it in different browsers and on different devices to ensure everything works smoothly. Ask friends or colleagues to review it and provide feedback.
Why It Matters: Testing and getting feedback helps you catch any issues you might have missed and ensures your portfolio leaves a positive impression.
Deploy Your Portfolio
Human Approach: When you’re ready, deploy your portfolio using free hosting services like GitHub Pages, Netlify, or Vercel.
Why It Matters: Deploying your portfolio makes it accessible to the world and allows you to share your work with potential employers, clients, or anyone interested in your skills.
Conclusion
Creating a portfolio using HTML and CSS allows you to present your work in a way that’s uniquely yours. By focusing on content, design, and user experience, you can build a portfolio that not only showcases your skills but also tells your story. Whether you’re just starting or have years of experience, a well-crafted portfolio is a powerful tool in your professional toolkit.